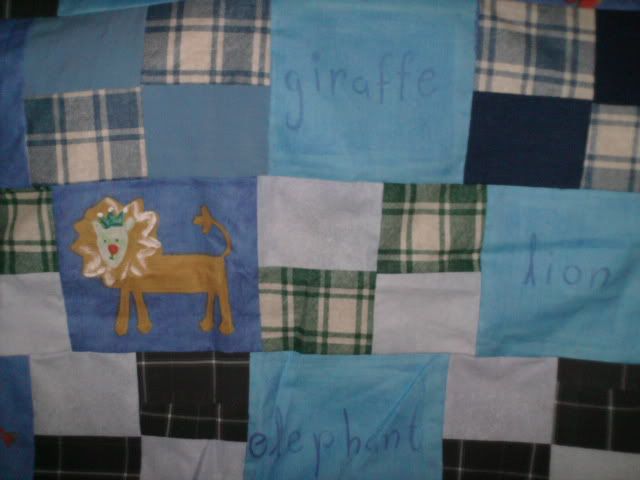
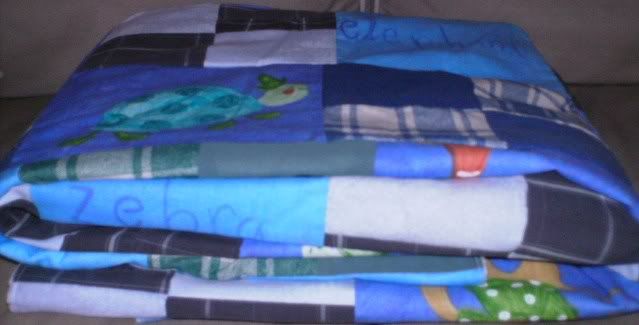
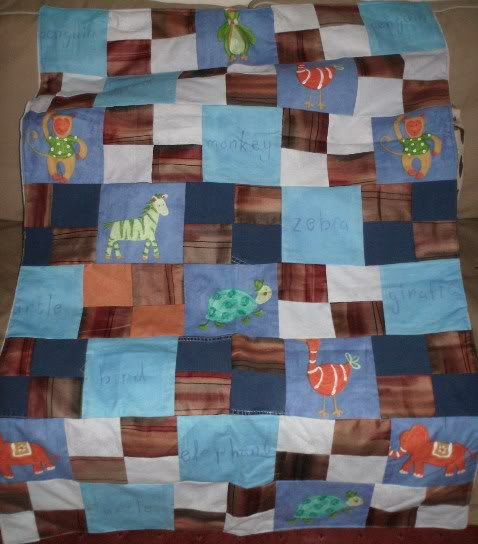
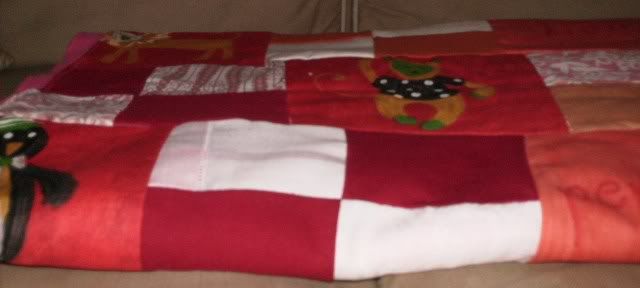
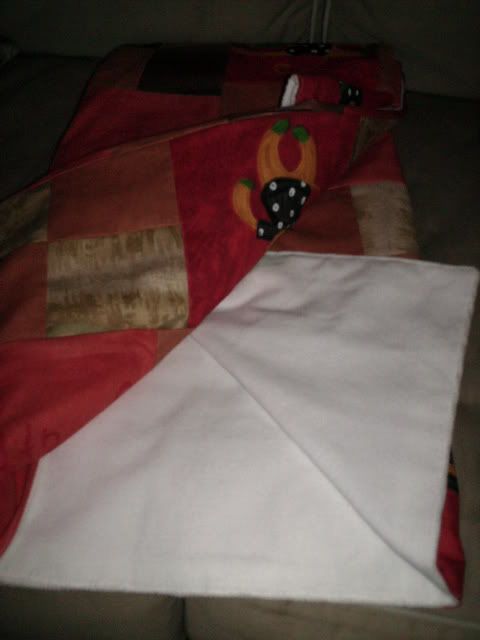
I never thought Id have patience to do patchwork. I dont think Ill ever do it in the sense of quilting, but I really do enjoy piecing together the patches, so Ive adapted the technique to my own uses.
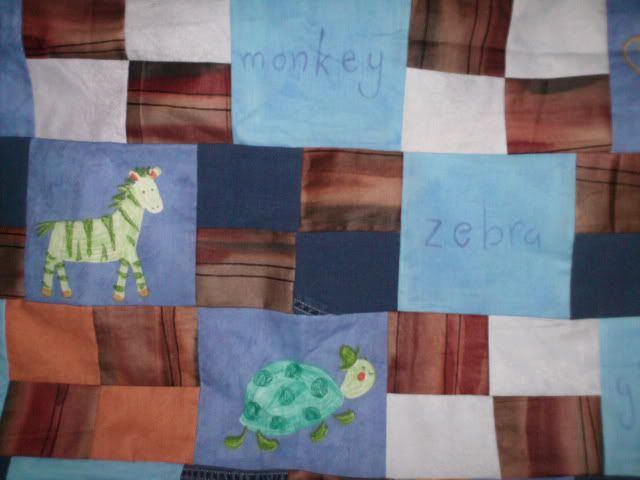
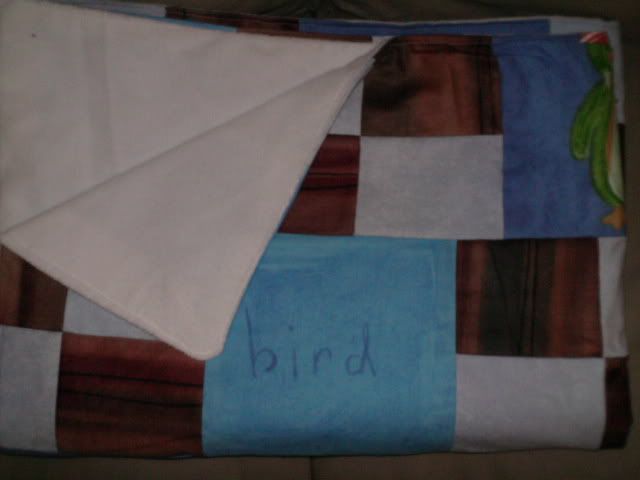
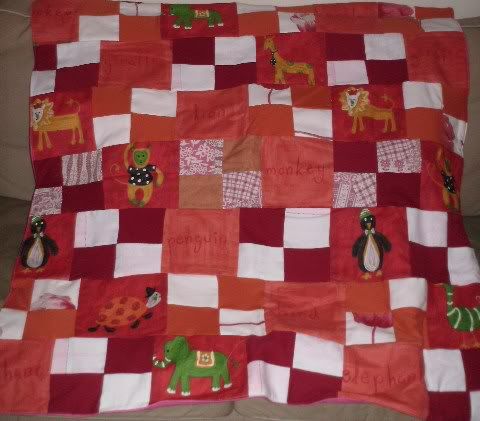
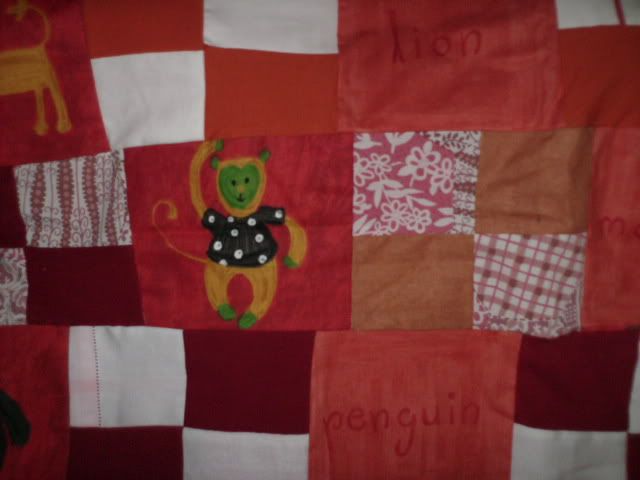
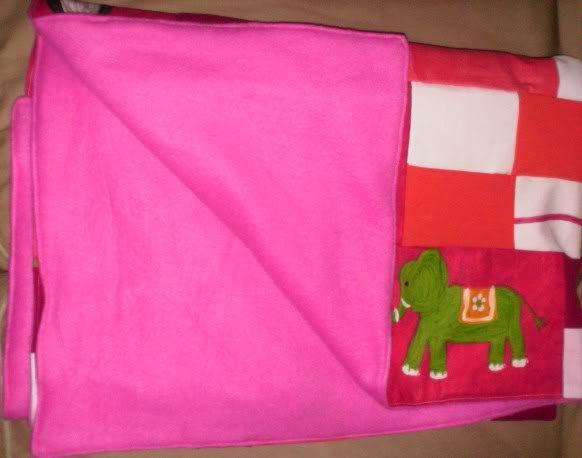
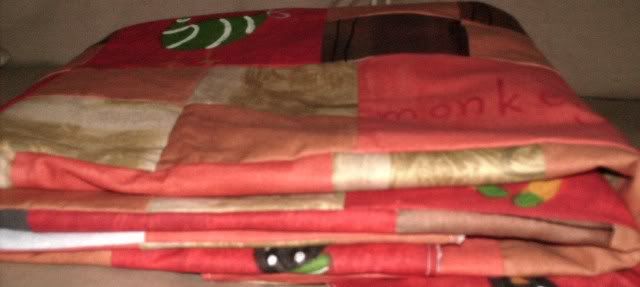
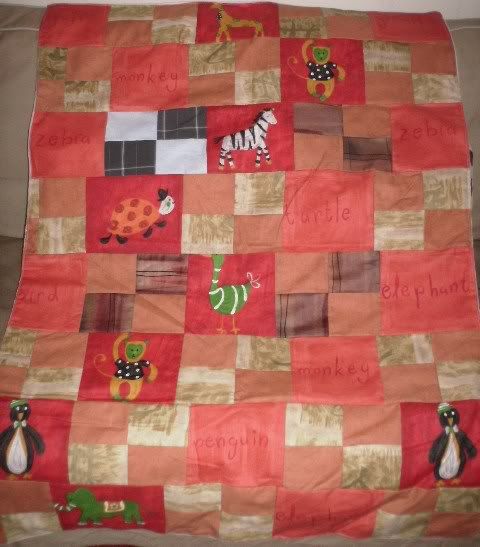
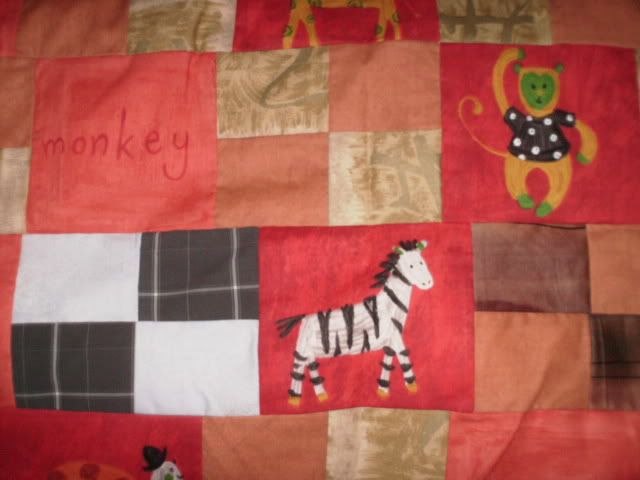
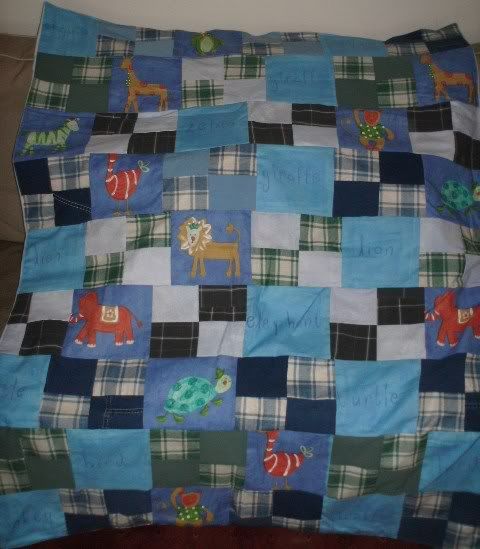
I started out making a patchwork baby blanket for a girl in my work who was due to go off on maternity leave. I had picked up some Ikea fabric a while ago and decided that would be really sweet. Then I decided I wanted to keep making them and so made 4 for my first craft fair back in August.
I bought a great big huge box of pre-cut patches from someone on Livejournal as Id used her patches before and liked the colours. The alternating fabric I had gotten for 99p for about a metre of each and cut it into patches.
I made two blue blankets and two red/orange blankets. 3 had white soft chenille type fleece backing and the 4th I used fuschia pink fleece backing.
Wednesday, 15 October 2008
Monday, 13 October 2008
First two craft fairs
I had my second craft fair on Saturday there, which I feel in order to tell you about it I should talk about my first fair also.
My first fair was about 6 weeks ago in August and was held in Clarkston. I was intending to use this fair as a learning tool, e.g how to set up my table correctly, meeting other members of the association and in general to know how my things are received.
Well all I can say is that it is good that I went in with that optimistic view as it was a complete washout. We thought it might be fairly busy as the Farmers market was on that day also and hoped that would send the people in but it didnt have as much an affect as that. There were people coming in, but not a great deal. We should one thing at a £1. Oh well.
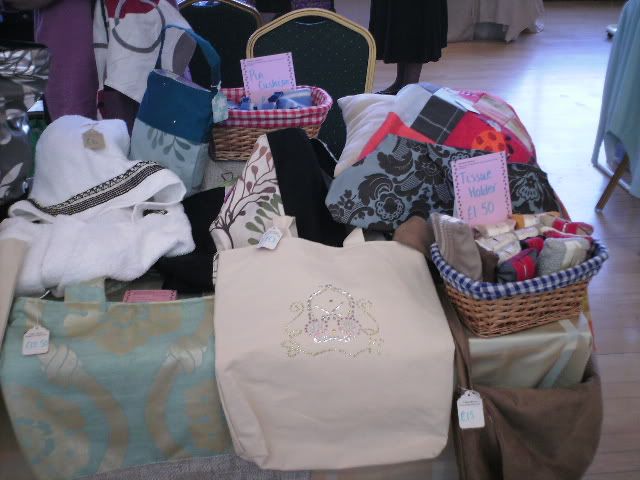
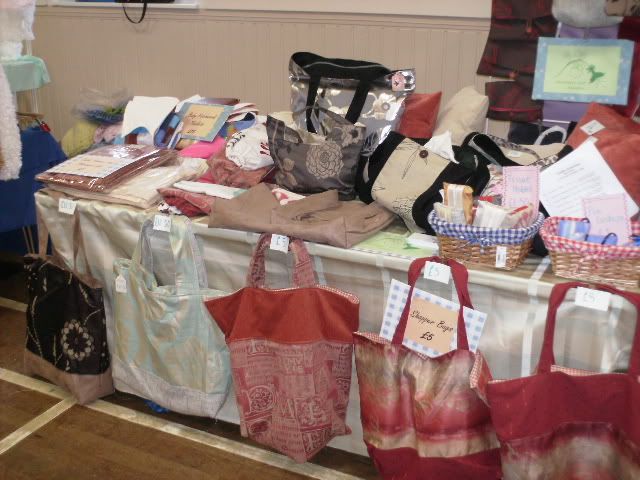
The upside was that the woman who was across from us was exceptionally helpful. She gave me a lot of tips for the table but also an idea for something I hadnt thought of. She suggested putting bubble wrap in one of the bags to let people see the size of it, which I was astounded I hadnt thought of before because it will make photographing my bags a ton easier. Here are the pictures from the first day:
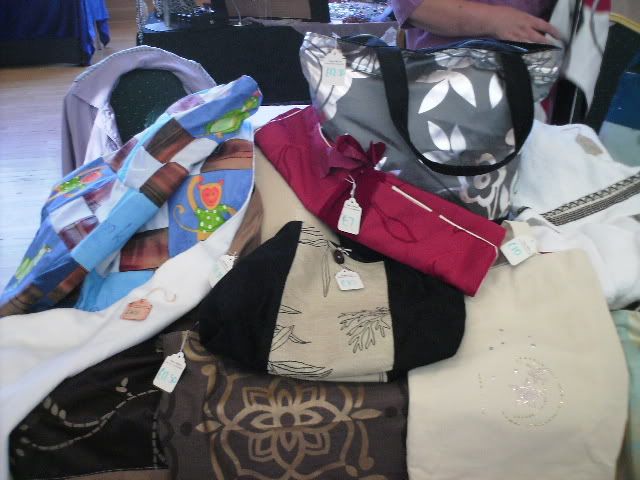
The second fair was held in Hamilton. I was hoping for a slightly better turnout as the centre it was being held in is at the top of a fairly busy shopping precinct but it was a bit set back from the road. It was certainly busier this time than it was in Clarkston and I at least covered my table with 2 sales. I would probably be quite disheartened but at the same time I think it wont get any better if I dont try to help out.
Ive suggested some venues to the committee for them to look into for next year. The more I think about one of the venues the more I think it could work out well, at least for exposure. Will need to think some more.
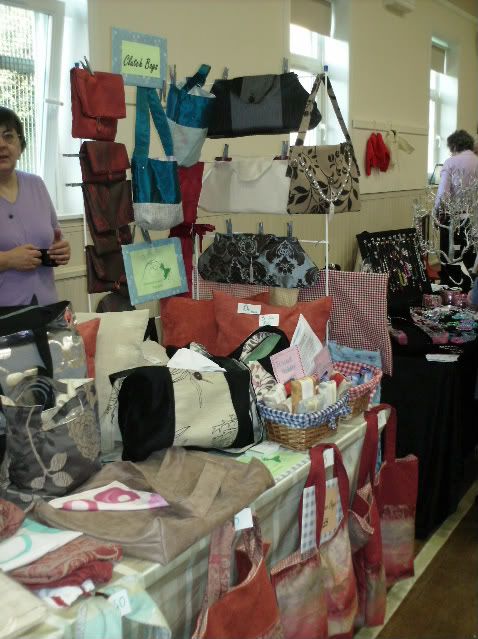
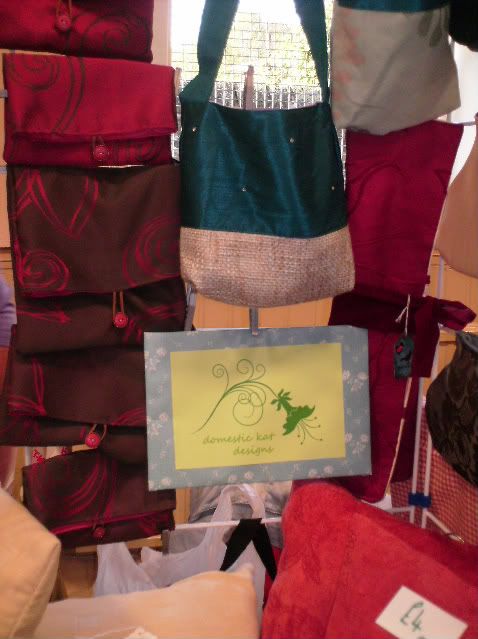
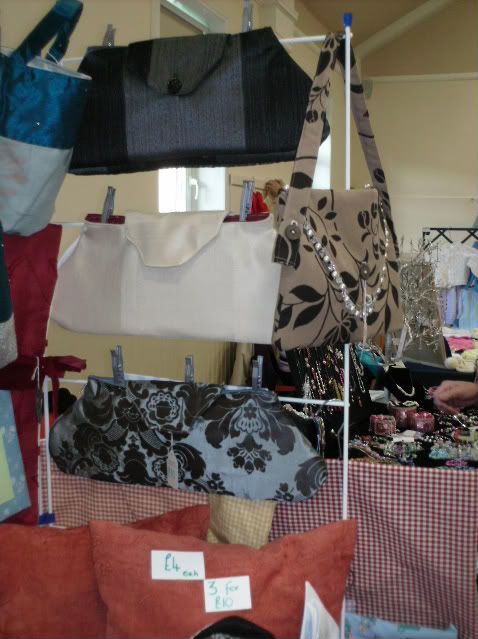
As usual I took some pics of my table which I thought looked a ton better this time, thanks to Jacqueline for all the tips (and the people over at Crafteroo!)
Kat xx
Saturday, 11 October 2008
The Thursday Night Project
Ok so a couple of people have blogged about the Thursday Night Project already.
Created by the wonderful PennyDog, the project is run on Crafteroo and there is also a group on Flikr to post completed pictures. Every Thursday we all talk about what projects we are going to start or finish or work on that night.
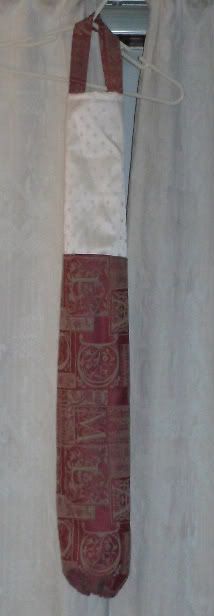
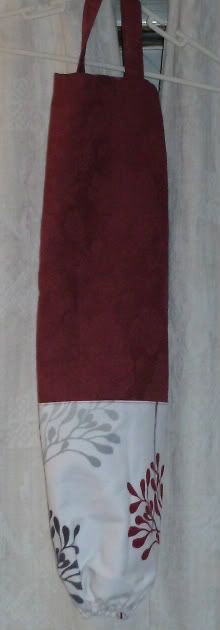
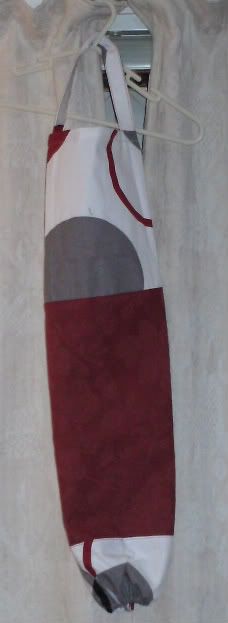
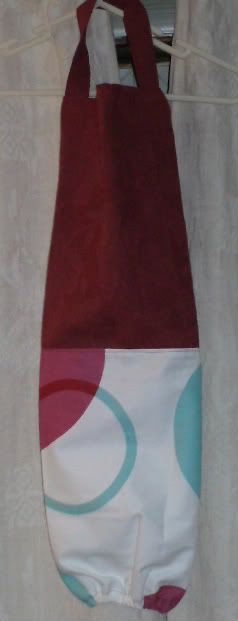
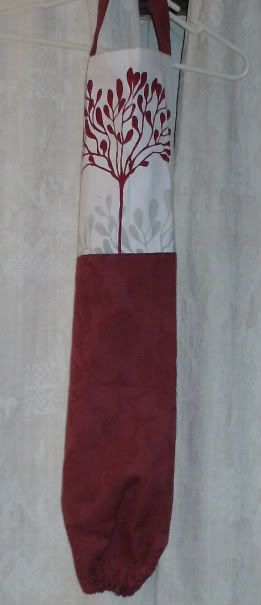
Last Thursday I decided to partipate and wanted to start making a batch of plastic bag dispensers for my fair today. I got 4 (out of 7 done and ran out of machine needles. I had broken through 5 needles. There appeared to be something wrong with my back stitch but its working fine now so dont know what it was.
Anyway here are the finished dispensers.
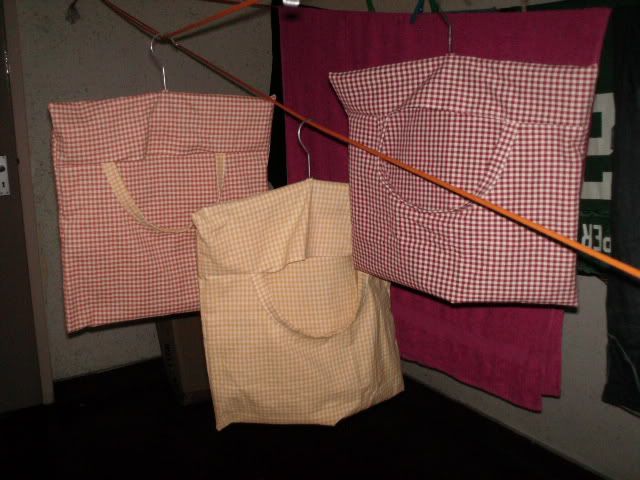
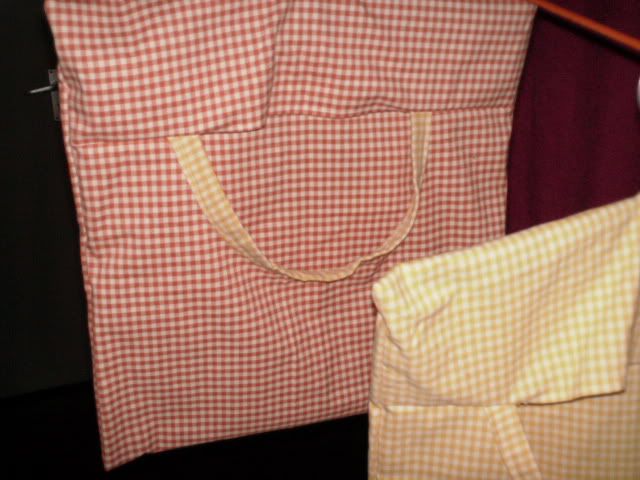
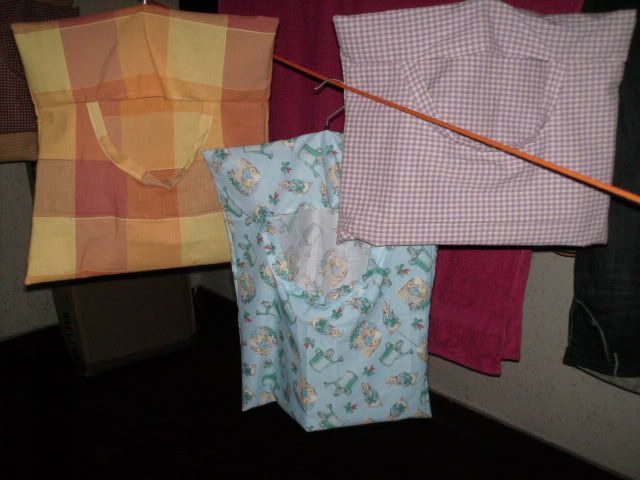
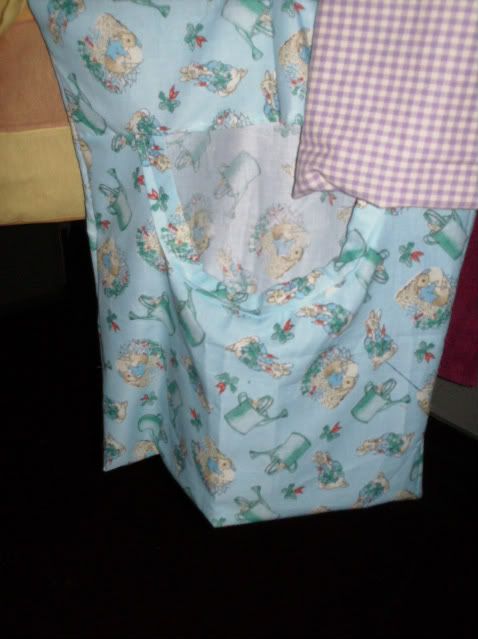
This Thursday I also worked on things for my fair, this time Peg bags. Again I got 6 done (for those who dont know me particularly well, I have a mild version of OCD and prefer to make things in even numbers). Here they are:
None of them sold but I think they are the kind of thing that could sell so Ill give it some time.
Thursday, 9 October 2008
I gots new banners and logos!
Ok as you all might know I am completely inept when it comes to graphic design and things like that.
So I put out a plea on Crafteroo for some help as the banner I had on my stores was very very basic and I wanted an avatar for use on forums and such like. I gave very little instruction and asked for someones interpretation and thought to go into the items.
Then PennyDog of PennyDog Accessories (http://www.etsy.com/shop.php?user_id=5628507) stepped forward.
She made these little beauties for me:
I absolutely love them! We both agree that the cream bag on the banner looks out of place so we are going to replace it with another bag but otherwise I am exceptionally happy.
Thanks Kerry!
Kat
Tuesday, 7 October 2008
Amy Butler Clutch
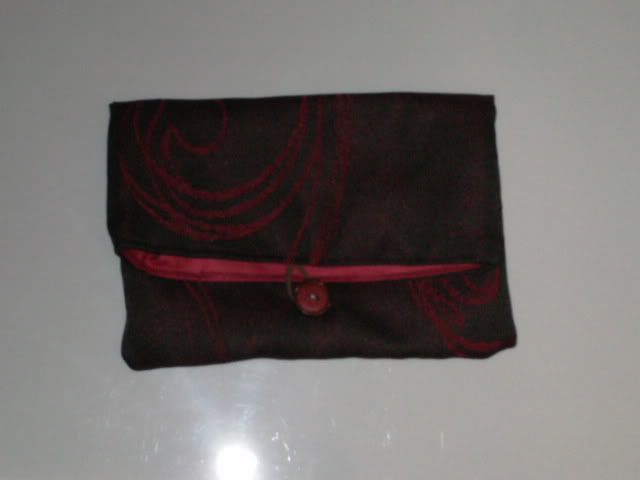
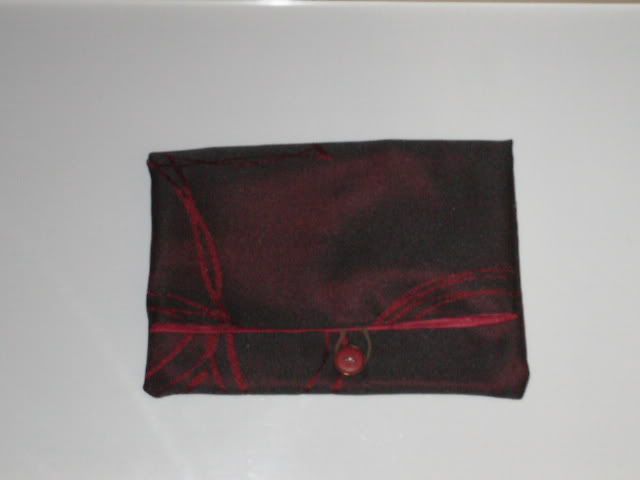
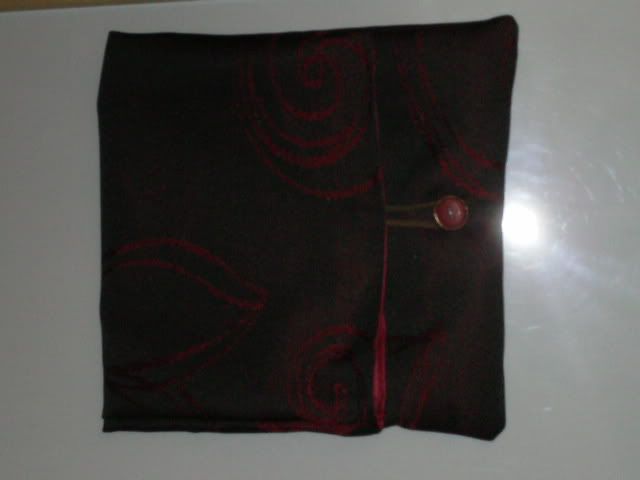
As mentioned in my previous post, for my next craft fair I decided I needed to stock up on clutch bags.
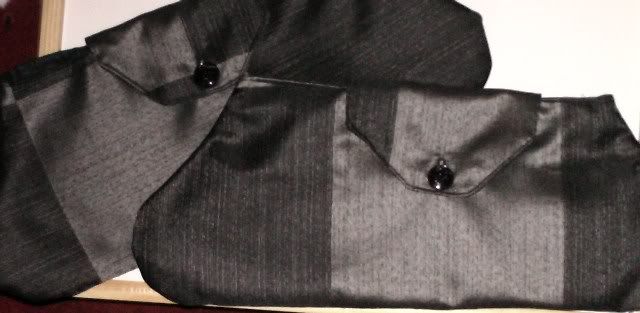
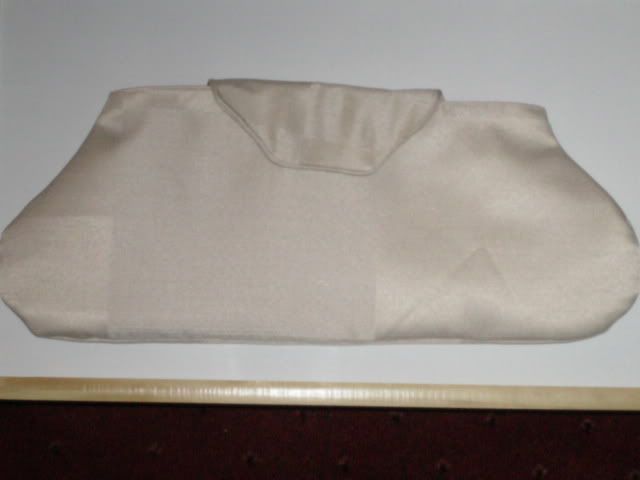
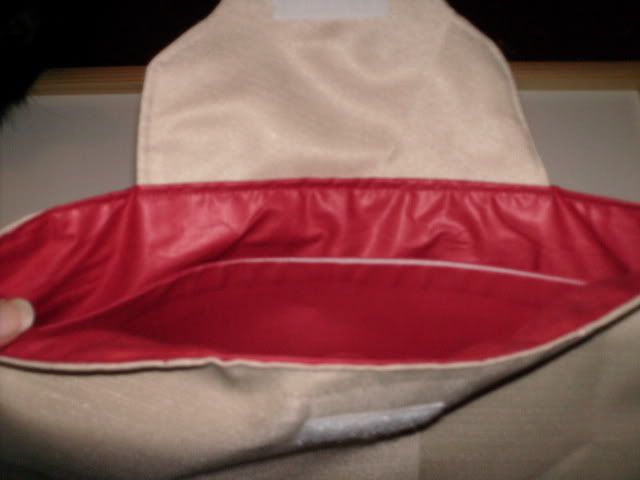
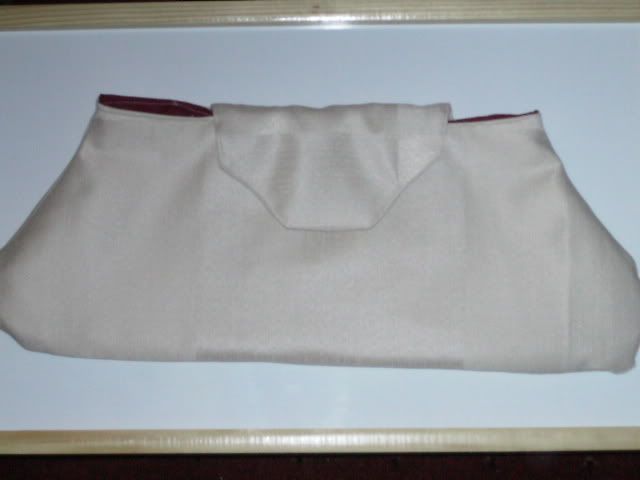
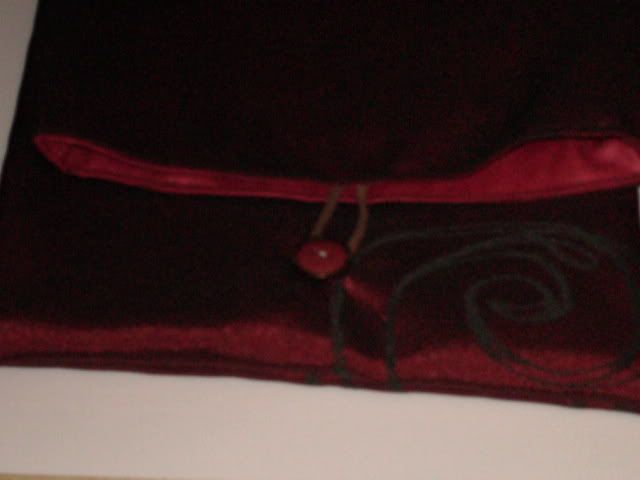
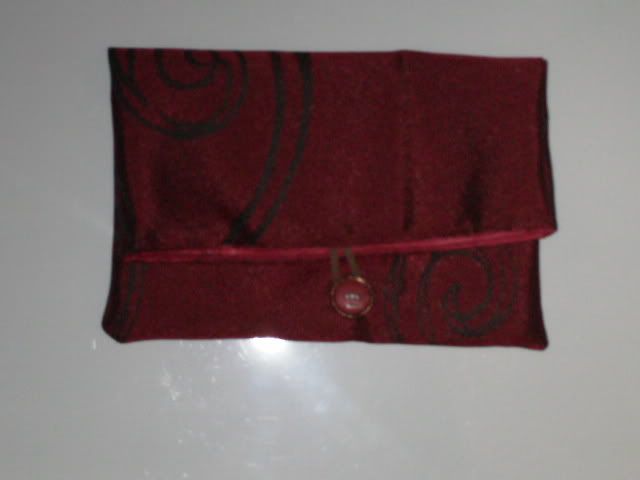
I slightly modified this pattern from Amy Butler's In Stitches book. I have to say Amy Butler patterns are a lot of words for not a lot of actions. I felt as if it just went on and on when 5 sentences could have been said in one. Regardless I got there with it. And really like the end result.
Here are some different ones Ive made :
Bend the Rules Clutch Bags
Disclaimer: This post is to make up for my lack of post last night, so I will be making another post later on. I was just really really sick last night.
As I said in one of my last posts I have a fair this coming Saturday. My last fair was six weeks ago and one of the things I thought I needed more of was clutch bags. I figure they might be a good seller since we are coming into the party season.
The first batch I made was based on the Amy Karol Artsy clutch. I had a strip of fabric that I had gotten from Dunelm when I worked there that they couldnt sell as it was under half a metre instead of following measurements in the pattern I just cut the material into 10 pieces of different sizes to make into bags.
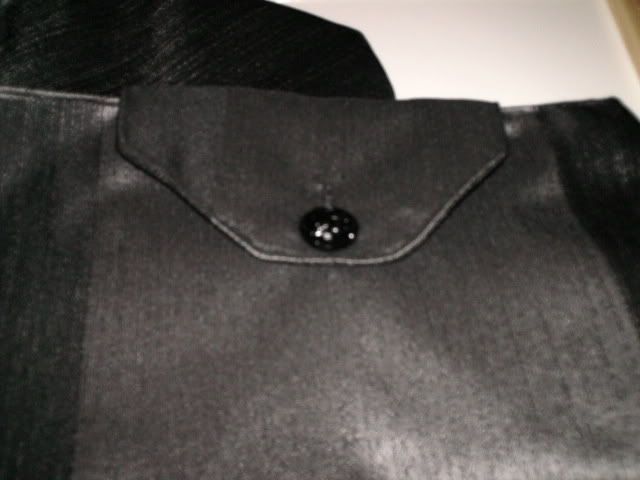
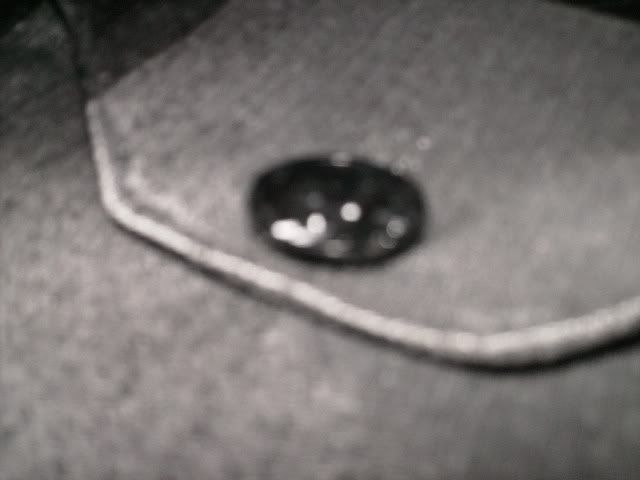
These were quite quick and easy to make yet look really effective. The fabric was reversible too so I could make different designs using the same fabric. I found some really suitable vintage buttons in my mums button tins. I dont have a macro setting on my camera so I havent yet got a good pic of the button but believe me I will. :-)
Ok so on to photos!!
Sunday, 5 October 2008
Neice's Christmas Presents
I decided last year that I want as many of the gifts that I give away, particuarly at christmas to be handmade. Whether this is by myself or someone else is irrelevent although I will try to find something to make for everyone if I can.
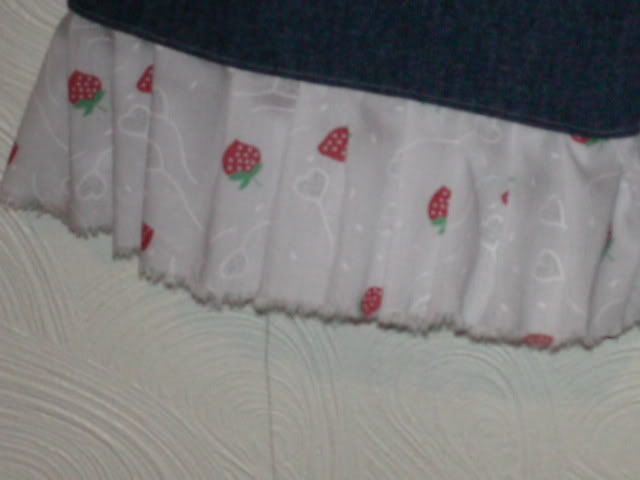
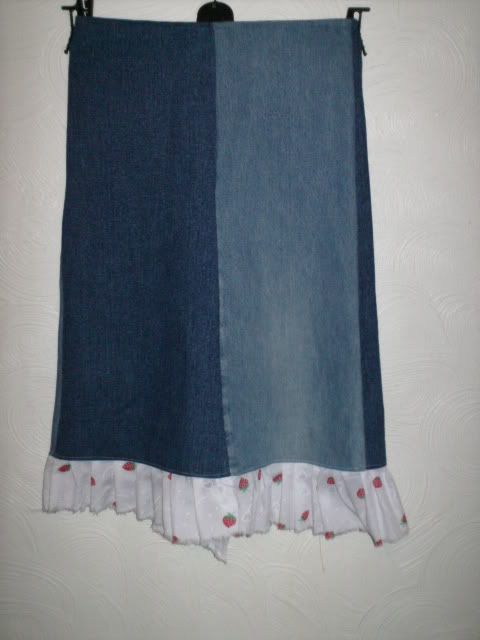
The first skirt I made, the idea came to me just all of a sudden. I had some jeans that were done but I didnt want to throw out so I opened the seams and reclaimed the zips and buttons out of them with the intention of making patches for quilts/blankets. When I had done this I realised that the bottom legs of the jeans would look nice as a skirt but for someone small. I also had bought a job lot of fabric someone was getting rid of and it had a little bit of voile like fabric with strawberries on it which I hadnt been sure of how to use.
So I took one bottom of the leg off each pair of jeans, one light blue and one dark blue I cut it again on the seam and matched them alternately. I darted them in a bit at the top to shape it a bit nicer for her waist (my 9 year old neice has a 23 inch waist, the same as Victoria Beckham)I then ripped some of the strawberry fabric to give a frayed look at the bottom and hemmed it onto the bottom of the skirt.
I then took it as a big rectangle to plead with my mum to show me how to put a waistband in and a zip. We put in a hidden zip and used really wide elastic to make a waistband and thats pretty much it. I definately learned a lot from my mum through this project that I wouldnt have thought of, like the material being a wee bit higher at the back to compensate for the shape and other such tidbits.
Anyway enough rambling, here is the finished product:
I also made her this skirt:
which I think is absolutely gorgoues. My mum has a stash of vintage fabric in a cupboard in her room (when I say vintage I mean it has probably been in her stash for 20+ years). She pulled this one out and said I thought you might like to do something with this. I instantly though of a skirt because of the way the pattern runs at the bottom. This one was very simple. I sewed a seam up the two edges which would go at the back leaving just enough material to turn over to make a pocket for an elastic waistband. I used the same elastic as I used in the other skirt as my mum has a huge huge roll of it that she bought a while back. I used double the amount of material and 24 inches of elastic so that the fabric would be really floaty.
I used elastic in both skirts because I am frightened that she is going to take another growth spurt between now and christmas or just after christmas. She is huge!!! She is like 5" already.
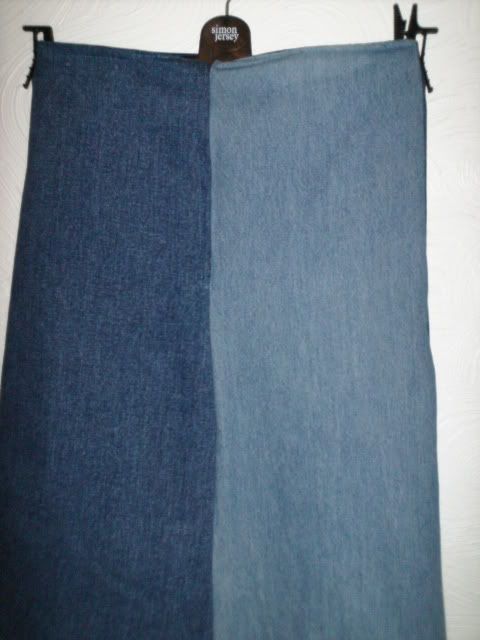
The first skirt I made, the idea came to me just all of a sudden. I had some jeans that were done but I didnt want to throw out so I opened the seams and reclaimed the zips and buttons out of them with the intention of making patches for quilts/blankets. When I had done this I realised that the bottom legs of the jeans would look nice as a skirt but for someone small. I also had bought a job lot of fabric someone was getting rid of and it had a little bit of voile like fabric with strawberries on it which I hadnt been sure of how to use.
So I took one bottom of the leg off each pair of jeans, one light blue and one dark blue I cut it again on the seam and matched them alternately. I darted them in a bit at the top to shape it a bit nicer for her waist (my 9 year old neice has a 23 inch waist, the same as Victoria Beckham)I then ripped some of the strawberry fabric to give a frayed look at the bottom and hemmed it onto the bottom of the skirt.
I then took it as a big rectangle to plead with my mum to show me how to put a waistband in and a zip. We put in a hidden zip and used really wide elastic to make a waistband and thats pretty much it. I definately learned a lot from my mum through this project that I wouldnt have thought of, like the material being a wee bit higher at the back to compensate for the shape and other such tidbits.
Anyway enough rambling, here is the finished product:
I also made her this skirt:
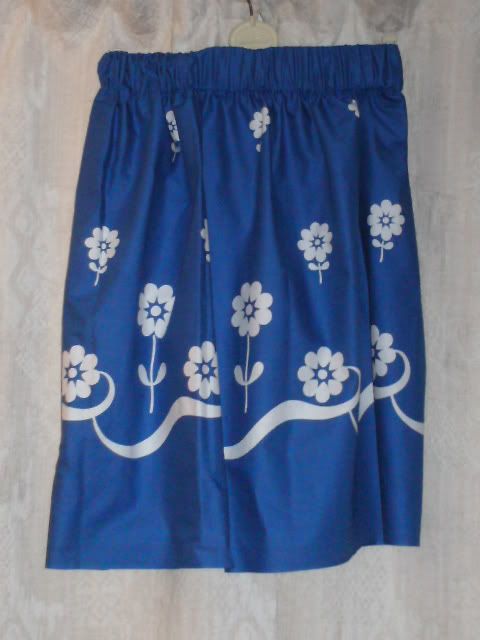
which I think is absolutely gorgoues. My mum has a stash of vintage fabric in a cupboard in her room (when I say vintage I mean it has probably been in her stash for 20+ years). She pulled this one out and said I thought you might like to do something with this. I instantly though of a skirt because of the way the pattern runs at the bottom. This one was very simple. I sewed a seam up the two edges which would go at the back leaving just enough material to turn over to make a pocket for an elastic waistband. I used the same elastic as I used in the other skirt as my mum has a huge huge roll of it that she bought a while back. I used double the amount of material and 24 inches of elastic so that the fabric would be really floaty.
I used elastic in both skirts because I am frightened that she is going to take another growth spurt between now and christmas or just after christmas. She is huge!!! She is like 5" already.
Subscribe to:
Posts (Atom)